

Quick Steps To Make a Water Leak Repair
A leaking pipe can be a homeowner's nightmare, leading to water damage, mold growth, and increased utility bills. Addressing leaks promptly is crucial to maintaining the integrity of your home. This guide will walk you through the steps to fix a leaking pipe, using both temporary and permanent solutions. By following these steps, you can prevent further damage and ensure your plumbing system functions efficiently.
Identifying the Leak
Common Causes of Leaking Pipes
Understanding the common causes of leaking pipes can help you identify and prevent future issues. Here are some frequent culprits:
- Corrosion: Pipes, especially those made of metal, can corrode over time, leading to leaks.
- High Water Pressure: Excessive water pressure can strain pipes, causing them to crack or burst.
- Temperature Changes: Pipes can expand and contract with temperature fluctuations, leading to leaks.
- Pipe Joint Damage: Joints are vulnerable points in your plumbing system that can become loose or damaged.
- Clogs: Blockages can increase pressure in your pipes, causing them to leak.
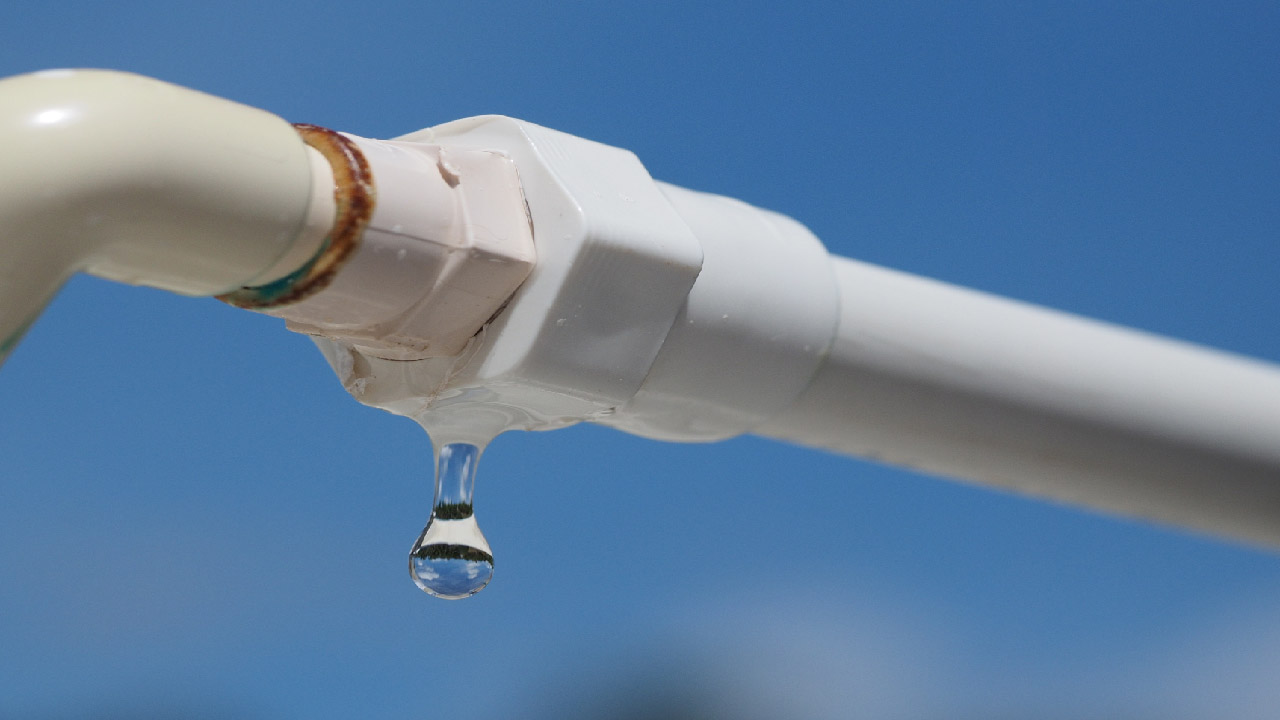
Spotting the Leak
To effectively fix a leaking pipe, you must first identify its source. Here are some steps to help you locate the leak:
- Visual Inspection: Look for visible signs of leaks such as damp spots, water stains, or puddles.
- Listening for Drips: In quiet environments, you may hear the sound of dripping water.
- Checking for Mold or Mildew: Mold growth is a strong indicator of a hidden leak.
- Inspecting Water Meter: Turn off all water sources and check the water meter. If it continues to run, there’s likely a leak.
Safety Precautions
Turning Off the Water Supply
Before you start any repair work, turn off the water supply to prevent further damage:
- Main Shut-Off Valve: Locate and turn off the main water shut-off valve.
- Fixture Shut-Off Valves: For localized repairs, you can turn off the water supply to individual fixtures.
Turning Off Electricity
If the leak is near electrical outlets or appliances, it’s crucial to turn off the electricity to avoid any hazards.
Preparing the Work Area
Clear the area around the leak. Place a bucket under the leak to catch dripping water and have towels or rags ready for cleanup.
Tools and Materials Needed
Gathering the necessary tools and materials before starting your repair will make the process smoother:
- Basic Tools: Pipe wrench, adjustable wrench, screwdriver, utility knife.
- Repair Materials: Pipe tape (Teflon tape), pipe clamps, pipe sealant or epoxy putty, replacement pipe or fittings.
Temporary Fixes
Using Pipe Tape
Pipe tape can provide a quick temporary fix:
- Application: Clean the leaking area, then wrap the pipe tape tightly around the leak to seal it temporarily.
Applying Pipe Clamps
Pipe clamps offer a robust temporary solution:
- Installation: Place the rubber patch over the leak and secure it with the clamp.
Using Epoxy Putty
Epoxy putty can provide a quick and durable temporary fix:
- Application: Knead the putty until it’s a uniform color, then press it over the leak. Allow it to cure as per the manufacturer’s instructions.
Permanent Fixes
Replacing a Section of Pipe
For a permanent solution, you might need to replace the damaged section of pipe:
- Cutting Out the Damaged Section: Use a pipe cutter to remove the damaged portion.
- Measuring and Cutting Replacement Pipe: Measure the length needed and cut a new pipe section to fit.
- Fitting the New Pipe Section: Secure the new pipe section in place with appropriate fittings and ensure all connections are tight.
Fixing Leaks at Pipe Joints
Leaks at pipe joints require disassembly and resealing:
- Disassembling the Joint: Carefully take apart the joint.
- Cleaning and Resealing Threads: Clean the threads thoroughly and apply pipe tape or joint compound before reassembling.
- Reassembling the Joint: Tighten the joint securely to prevent future leaks.
Post-Repair Steps
Turning the Water Supply Back On
After completing the repair, turn the water supply back on gradually to check for leaks:
- Gradual Reopening: Slowly open the main shut-off valve or fixture shut-off valves.
- Checking for Leaks: Inspect the repaired area to ensure the leak has been resolved.
Inspecting for Additional Leaks
Conduct a thorough inspection of your plumbing system to ensure no other leaks are present.
Cleaning Up the Work Area
Remove all tools and materials from the work area and dry any residual moisture to prevent mold growth.
Preventative Measures
Regular Maintenance
Regular inspections and maintenance can help you catch minor issues before they become major problems:
- Inspecting Pipes: Periodically check your pipes for signs of wear or damage.
- Addressing Minor Issues Promptly: Fix small leaks or other issues as soon as you notice them.
Protecting Pipes from Extreme Temperatures
Extreme temperatures can cause pipes to expand and contract, leading to leaks:
- Insulating Pipes: Use pipe insulation to protect pipes from freezing temperatures.
- Maintaining Consistent Indoor Temperatures: Keep your home at a stable temperature to prevent pipe stress.
Reducing Water Pressure
High water pressure can strain your plumbing system:
- Installing a Pressure Regulator: A pressure regulator can help maintain safe water pressure levels.
- Monitoring Water Pressure: Regularly check your water pressure to ensure it’s within safe limits.
When to Call a Professional
While fixing a leaking pipe can often be a DIY task, there are times when it’s best to call in professionals. If the leak has caused significant water damage, you may need more extensive repairs that require specialized equipment and expertise. In such cases, seeking assistance from a water damage restoration service can ensure your home is properly restored and protected from future issues.
Signs You Need Professional Help
Sometimes, a leak is too severe or complicated to fix on your own:
- Persistent Leaks: If the leak persists despite your efforts.
- Extensive Water Damage: If there is significant water damage.
- Inability to Locate the Leak: If you can’t find the source of the leak.
Conclusion
Recap of Key Points
Fixing a leaking pipe promptly is essential to prevent further damage, mold growth, and high water bills. By identifying the source of the leak, taking safety precautions, and using the appropriate tools and materials, you can fix most leaks yourself. However, for severe or complicated leaks, don’t hesitate to call a professional.
Encouragement to Address Leaks Promptly
Addressing leaks quickly will save you time, money, and hassle in the long run. Maintain your plumbing system with regular inspections and preventative measures to keep your home safe and dry.
Frequently Asked Questions
What should I do if I can't find the source of the leak?
If you can’t locate the source of the leak, it’s best to call a professional plumber who has the tools and experience to find and fix hidden leaks.
How long does it take to fix a leaking pipe?
The time required to fix a leaking pipe varies based on the severity of the leak and the repair method used. Temporary fixes can take minutes, while permanent repairs may take a few hours.
Can I use duct tape to fix a leaking pipe?
Duct tape is not recommended for fixing leaks as it does not provide a reliable or long-lasting solution. Use pipe tape, clamps, or epoxy putty instead.
What type of pipe is most prone to leaking?
Older metal pipes, such as galvanized steel or cast iron, are more prone to corrosion and leaks compared to newer materials like PVC or PEX.
How can I prevent future leaks in my plumbing system?
Regular maintenance, insulating pipes, monitoring water pressure, and addressing minor issues promptly can help prevent future leaks.
Is it worth investing in a home inspection to check for leaks?
Yes, a home inspection can identify hidden leaks and potential plumbing issues, helping you address them before they cause significant damage.